Step 1: Hardware Configuration
Please ensure that you have completed the steps outlined on the How to Install RapidConnect Desktop page prior to attempting this demo.
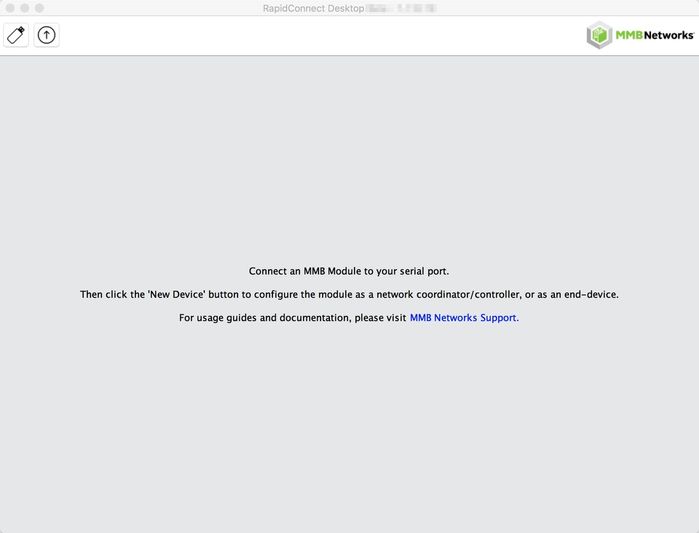
A) Open RapidConnect Desktop
Connect the RapidConnect zigbee devices via USB to the machine on which RapidConnect Desktop has been installed and open the RapidConnect Desktop application.
B) Configure the First RapidConnect Device as a Coordinator
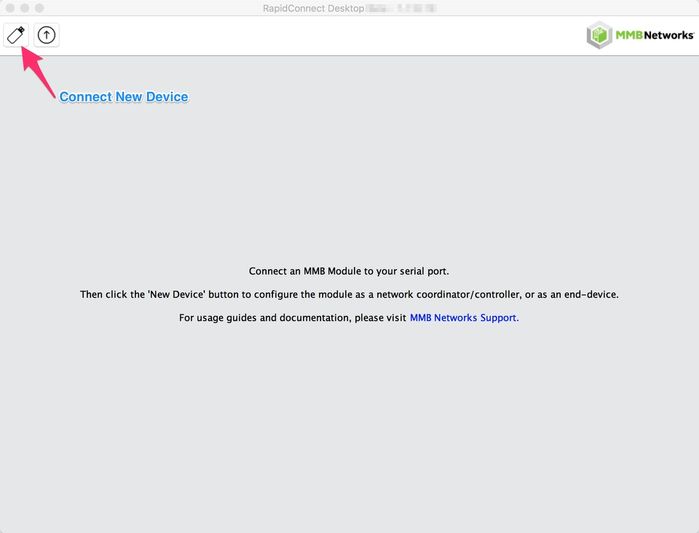
Click on the ‘New Device’ button.
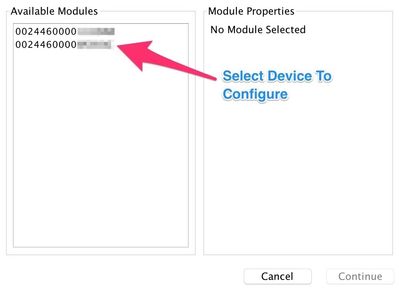
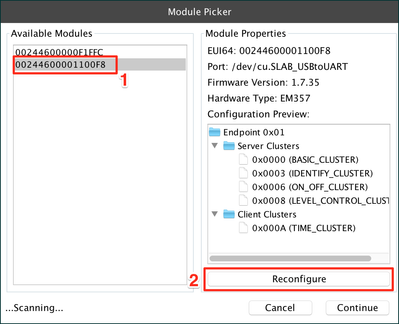
The Module Selection window will open. The list of Available Modules will show all devices that are connected via USB, along with their EUI64 IDs. The EUI64 ID is printed on the label for each device.
Select the intended RapidConnect device from the list of Available Modules.
Once the device is selected, The Module Properties will be displayed, including the Device Configuration.
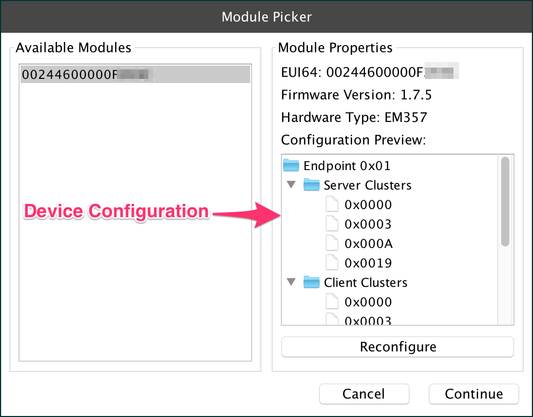
If the RapidConnect device has not been previously configured, the ‘Configuration Preview’ window will be empty. Click on 'Continue' to proceed to configuration selection window.
The next step is to configure this device as the coordinator of a new zigbee network. For devices that have previously been configured, click on the ‘Reconfigure’ button. For devices that have not been configured before, simply click 'Continue' to be presented with the Configuration Selection window.

RapidConnect Desktop gives users the ability to configure their devices using pre-set configurations such as Combined Interface Coordinator, Power Outlet and Door Lock. These pre-set configurations will set the device up with all the necessary Clusters, Endpoints and Attributes required for fulfilling its role on the network.
It's also possible for the user to create custom device configurations. For more information on this topic, see the Feature Guide.
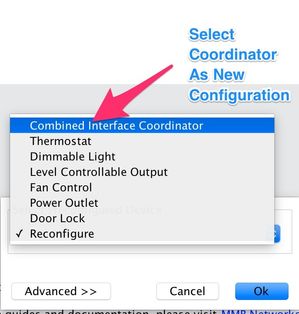
In the Configuration Selection window, expand the dropdown box and select ‘Combined Interface Coordinator'. Click 'OK'. RapidConnect Desktop will now send serial messages (via USB) to configure the device to be a network coordinator (aka Combined Interface Coordinator).
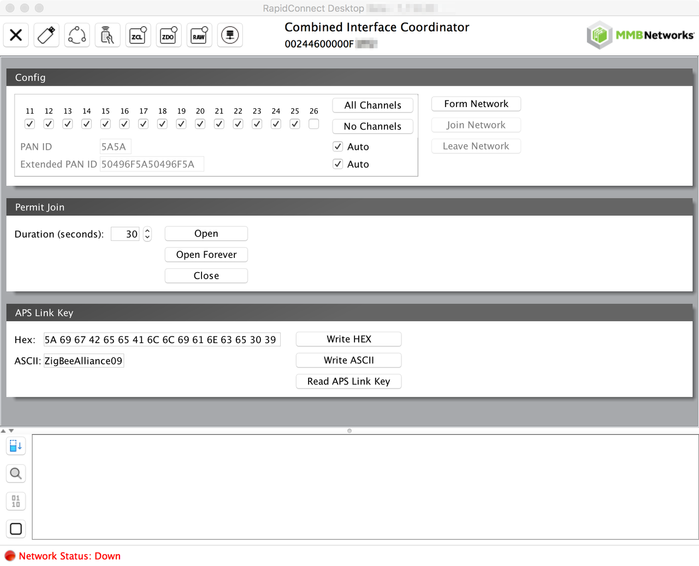
Once the device has finished configuring, the Network Settings window will open.
This window configures and manages the zigbee network and provides a user-friendly interface to perform actions such as forming a network, joining a network and setting Link Keys.
C) Configure the Second RapidConnect Device as a Router or End Device
If you already have your own Router or End Device (eg. Cree Connected light bulb, Kwikset door lock), you can use that device for the testing. The instructions below show how to configure a RapidConnect device to behave like a Dimmable Light.
Connect the Second RapidConnect device to your PC via USB if you have not already done so.
Click on the ‘New Device’ button from the top menu.

A new instance of RapidConnect Desktop will open. This new instance will be used to interface with the second RapidConnect device via USB. You can configure this new device as a Router or End Device and prompt it to join to the zigbee network that you created in the previous steps.
Select the new RapidConnect device from the list of Available Modules. Once the device is selected, click on the 'Reconfigure' button if the device has previously been configured. Otherwise, click 'Continue'.
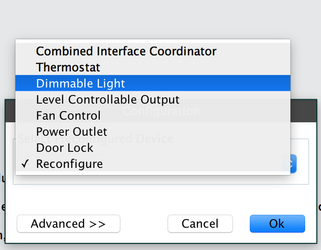
Select 'Dimmable Light' from the Module Configuration window.
Once the device has finished configuring, the Network Settings window will open.
Next Steps
You can now move on to Step 2: Network Configuration.
Legal Notices
Copyright © 2020 MMB Networks, Inc. All rights reserved.
Confidential materials prepared and delivered by MMB Networks for receipt and review only by any partner subject to a valid and enforceable MMB Networks confidentiality agreement. Any receipt, review, or misuse of any of the content exchanged hereunder by any party not a party to this confidential exchange shall be subject to any and all rights available under the law. All rights, title and interest to the materials shall remain with MMB Networks.
Any suggestions provided to MMB Networks with respect to MMB Networks' products or services shall be collectively deemed “Feedback.” You, on behalf of yourself, or if you are providing Feedback on behalf of your employer or another entity, represent and warrant that you have full legal authority to bind such entity to these terms, agree to grant and hereby grant to MMB Networks a nonexclusive, perpetual, irrevocable, royalty free, worldwide license to use and otherwise exploit such Feedback within any MMB Networks products and services.