Interacting with Devices on the Network
- Luke Tutty (Unlicensed)
- Tracy W (Deactivated)
- Saman Sartipi (Deactivated)
Prerequisites
In order to interact with other devices on the network, users must first add a device to the network. Follow the 'Join Network' section in the Network Management page.
View Device Details
Open the 'Remote Devices' window in the Coordinator instance of the RapidConnect Desktop (shown in Figure 1).
Figure 1: Remote Device Button

Local Device
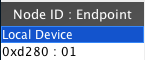
From the Node List, select the 'Local Device' (Figure 2).
Figure 2: Node List
Once a local node is selected the RapidConnect Desktop will execute discovery serially on the local endpoint. This allows users to view the Cluster → Attribute → Value pairs the endpoint is configured with (shown in Figure 3).
Figure 3: Local Device Cluster Configuration
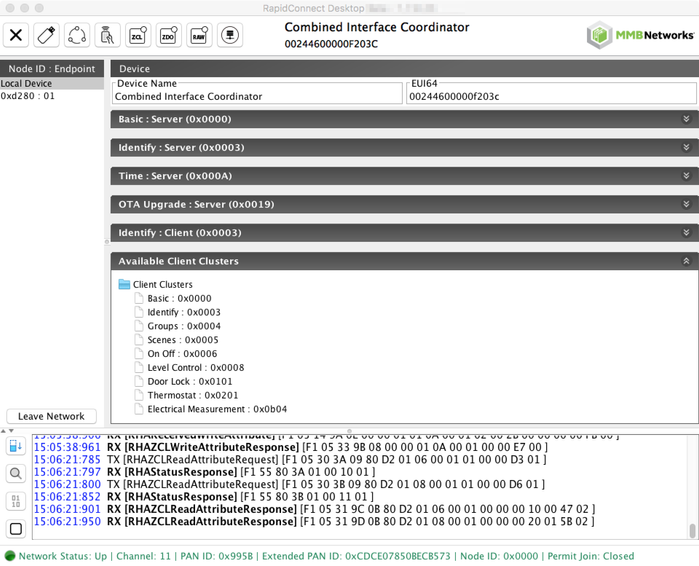
Users can now expand Cluster ends to view attribute tables and read/write attribute values using the interface panels. See examples below for the Time: Server Cluster End.
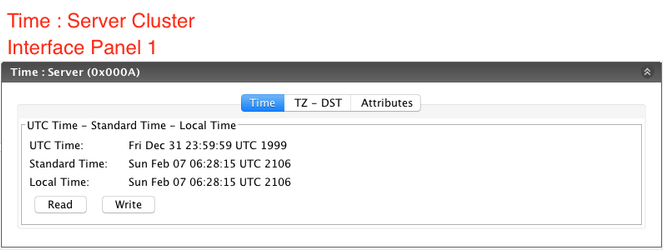
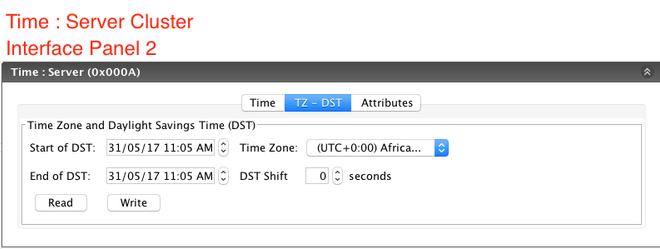
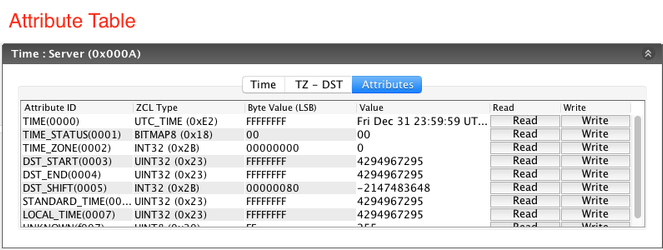
The Interface Panels and Attribute Tables gives users an easy way of reading attribute values and modify attribute values(as long as they are not read-only).
Remote Device
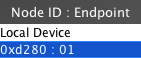
From the Node List, select the Remote Device 'Node:Endpoint' combination (Figure 4).
Figure 4: Remote Device Selection
Remote Device discovery is very similar to that of the local device except that discovery requests are sent over-the-air from the local device to the remote device. Once complete, users will be able to interact with the Cluster → Attribute → Value combinations on the remote device; with messages being sent over-the-air.
Modify Attribute Value
To demonstrate the use of interface panel to modify an attribute value, we will use the On/Off cluster on a remote device configured as a Dimmable Light.
Select the Remote device NodeId:Endpoint from the node list and expand the On Off : Server (0x0006) cluster.
Select the On/Off panel (Figure 5).
Figure 5: Attribute Panel
![]()
Here users will see the interface panel for the On/Off Cluster (Figure 6).
Figure 6: On Off UI Panel
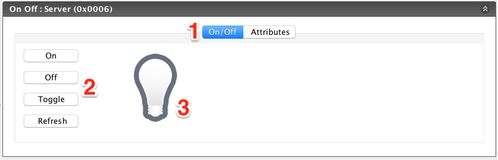
- Selected Panel
- Action Buttons
- On/Off attribute - current state (some interface panels provide widgets that reflect the current state/value of the more common attributes)
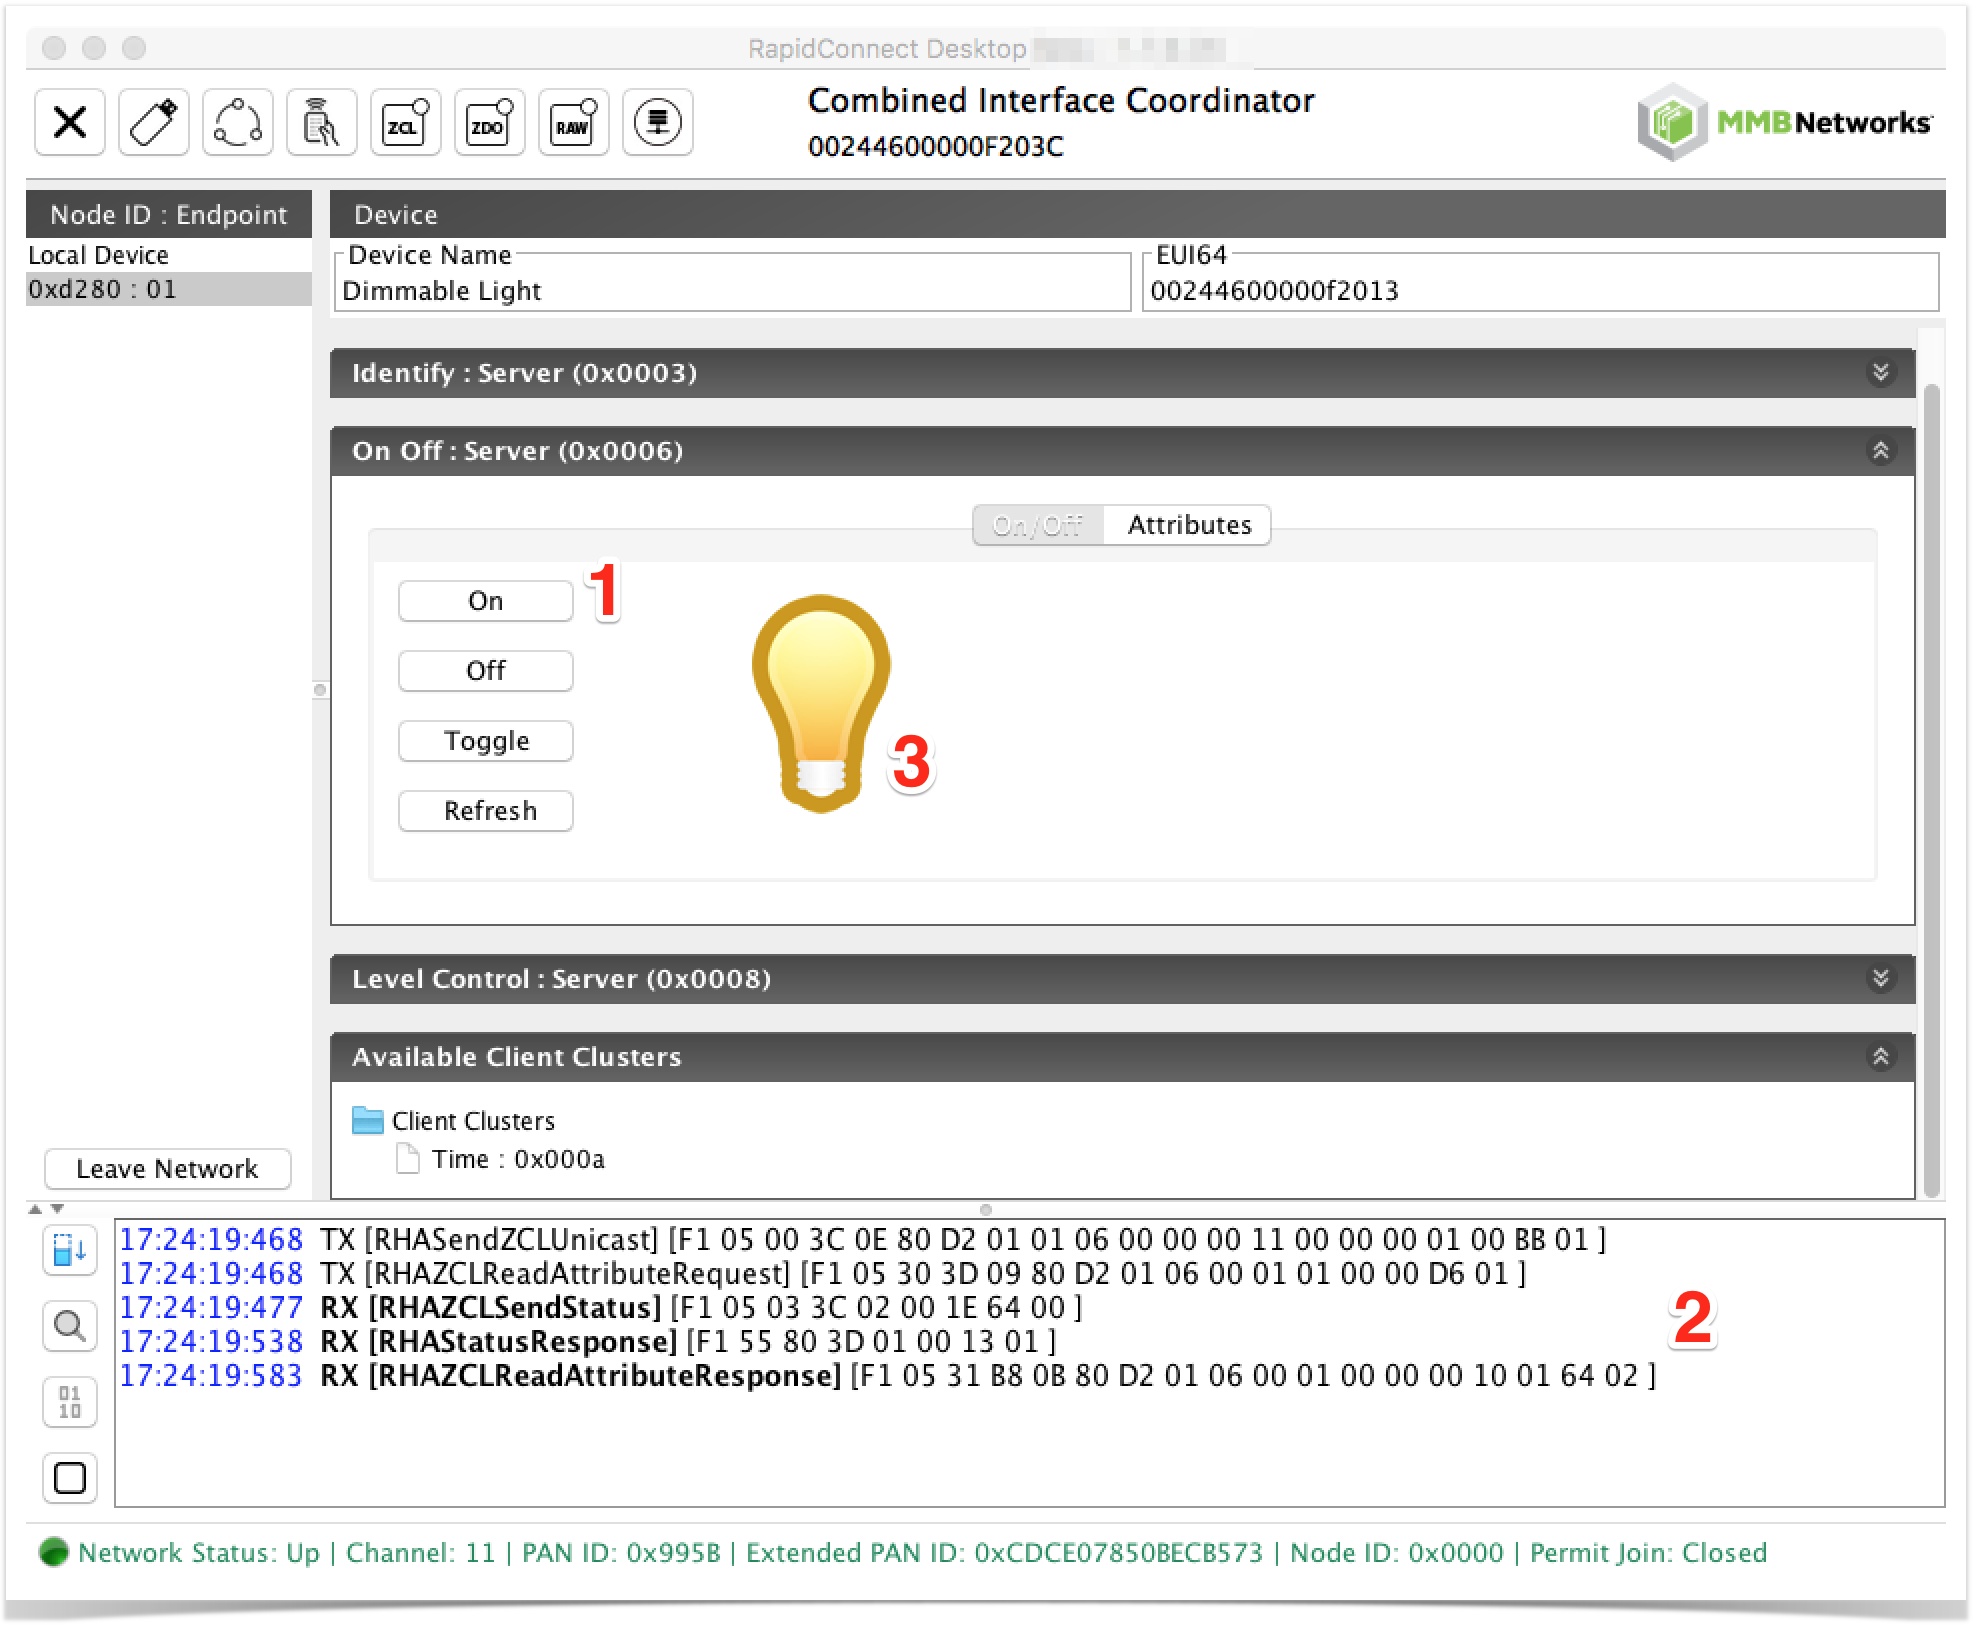
By selecting one of the action buttons from the panel shown above the user will trigger the local device to send a command to update the value for the OnOff(0x0000) attribute (Figure 7).
The sequence of events shown in the image below is as follows:
- User Selects the ON action
- Command is generated and sent over-the-air, attribute new value is read (Serial log updated to reflect messages being sent)
- Widget is updated with new attribute value
Figure 7: User selected action
Legal Notices
Copyright © 2020 MMB Networks, Inc. All rights reserved.
Confidential materials prepared and delivered by MMB Networks for receipt and review only by any partner subject to a valid and enforceable MMB Networks confidentiality agreement. Any receipt, review, or misuse of any of the content exchanged hereunder by any party not a party to this confidential exchange shall be subject to any and all rights available under the law. All rights, title and interest to the materials shall remain with MMB Networks.
Any suggestions provided to MMB Networks with respect to MMB Networks' products or services shall be collectively deemed “Feedback.” You, on behalf of yourself, or if you are providing Feedback on behalf of your employer or another entity, represent and warrant that you have full legal authority to bind such entity to these terms, agree to grant and hereby grant to MMB Networks a nonexclusive, perpetual, irrevocable, royalty free, worldwide license to use and otherwise exploit such Feedback within any MMB Networks products and services.